How to use VIMOTION Storyboard
Follow these 6 steps to turn one sentence into your first video. No filming skills needed — the AI breaks it into shots and draws the frames for you.
Watch the full walkthrough (~2.5 min)
Create a project
On the dashboard, click New storyboard at the top right. A new project is created instantly and opens the editor.

If you have not added a photo of your own people, product or shop, the AI invents a person and a place — and then writes the whole storyboard around whoever it made up.
Adding the photo afterwards does not fix it. A late upload swaps the reference image, but the character it already invented and every shot description stay exactly as written. You would have to generate the board again — and pay for it again.
So open ② Brand materials and upload before you press Generate. (If you press Generate with nothing uploaded, the app stops and asks you this same question — Cancelthere means “let me add photos first”.)
Write one idea, generate a storyboard
In the Your idea box, describe your video in one or two sentences — the product, the vibe, and how many shots. For example: “A kitten sees snow for the first time. 5 shots, cozy and warm.”
Then click Generate storyboard (~3 credits). The AI breaks your idea into shots with descriptions, dialogue, camera moves and mood. Your first storyboard ever is free — the button says so when it is.
After you press it you get this strip: what the system is usually doing right now, and how long you have been waiting. Usually 1–2 minutes — keep the tab open until it finishes.

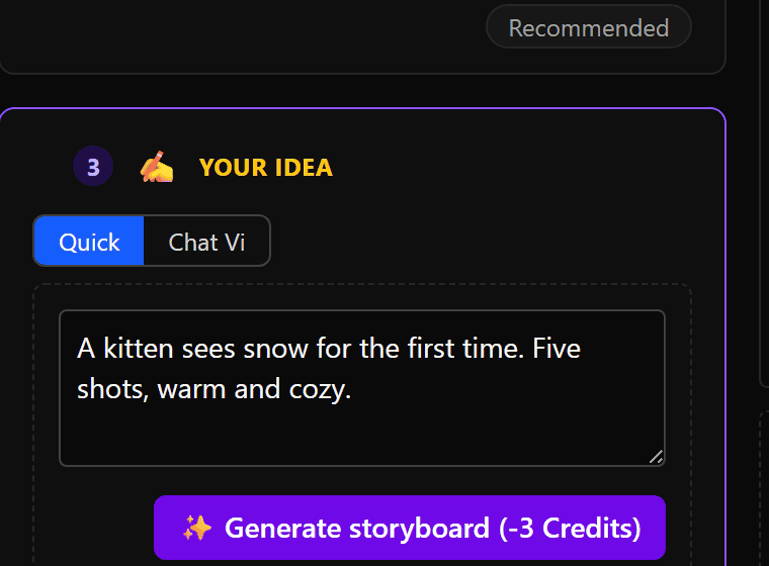
The language you write in is the language your characters speak. Write your idea in English → English dialogue; write in Chinese → Chinese dialogue.
Want to force it? Just say so directly in your idea or in chat. For example, add “dialogue in English” to your idea, or tell Vi in chat mode “switch the lines to Chinese” — the AI will follow.
Review the shots
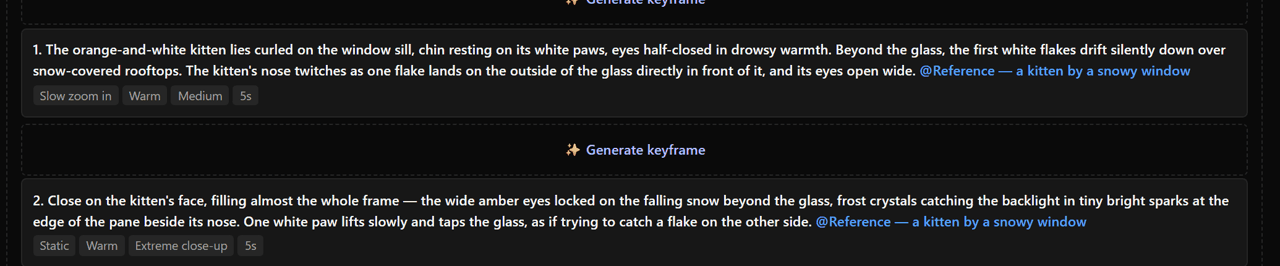
Each shot has a description, dialogue and duration. In Simple mode you can edit the description, reorder, or delete shots. To change the dialogue or duration, switch to Advanced mode (toggle at the top).
On the right is the storyboard sheet — all shots laid out as one image you can download to share with clients or your team. Or click 🔗 Share to publish it as a public link, for a client who will not open an attachment. You can revoke the link at any time.
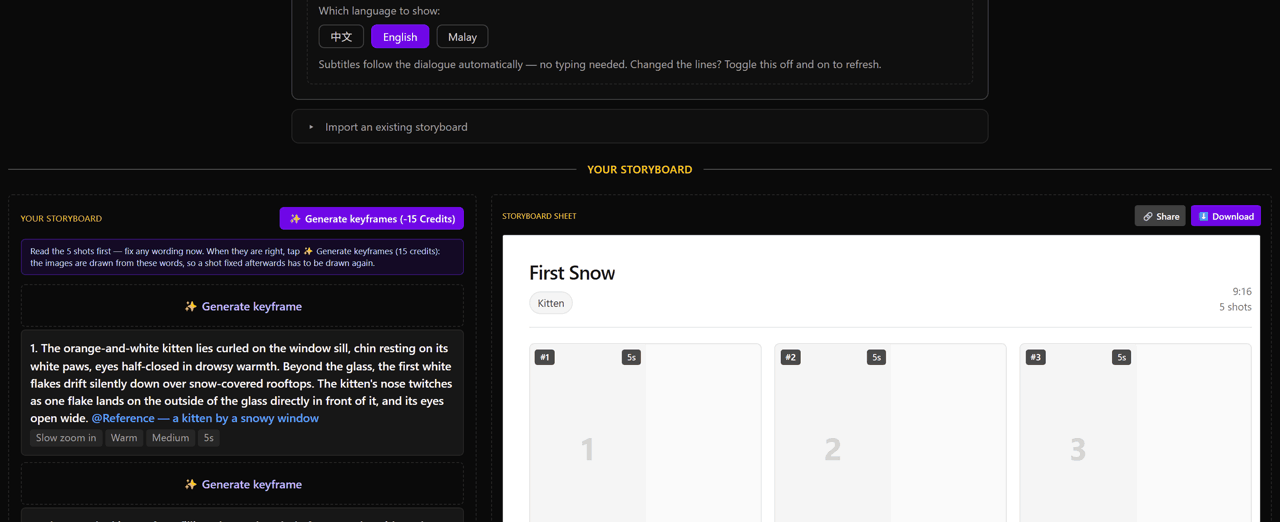
Generate keyframes (preview stills first)
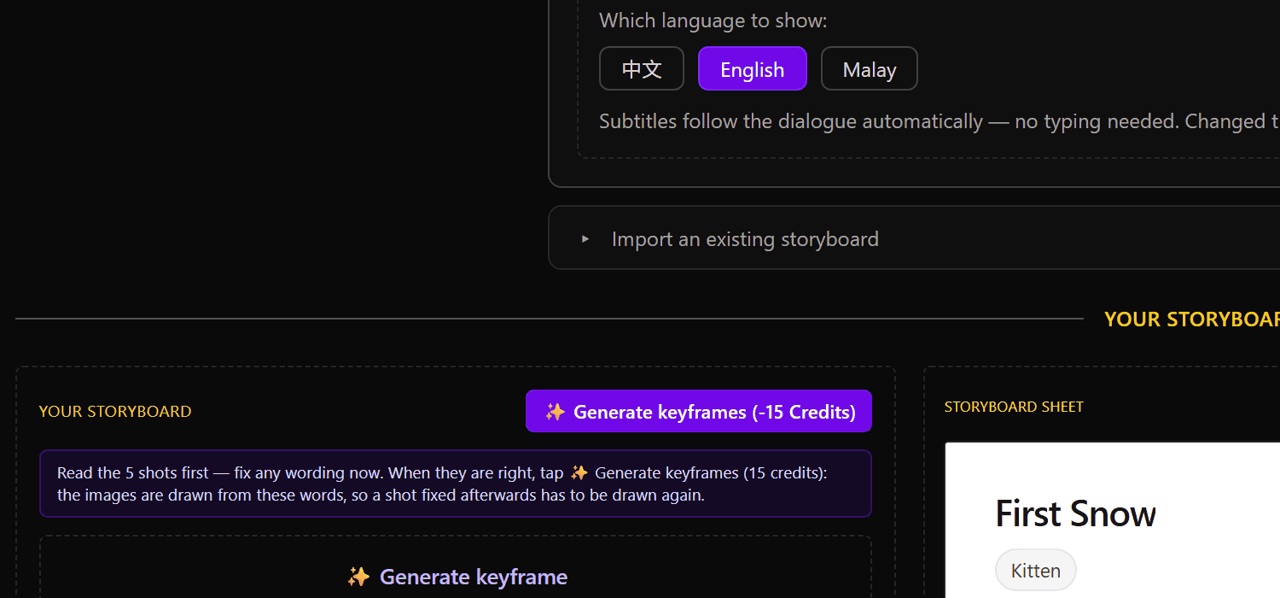
Click Generate keyframes (~3 credits each). Each shot gets one still image first, so you can confirm the characters and framing look right.
Review carefully here. If a frame is off, tweak the shot description and regenerate — keyframes are cheap, re-rendering the whole video is far more expensive.
Render the video
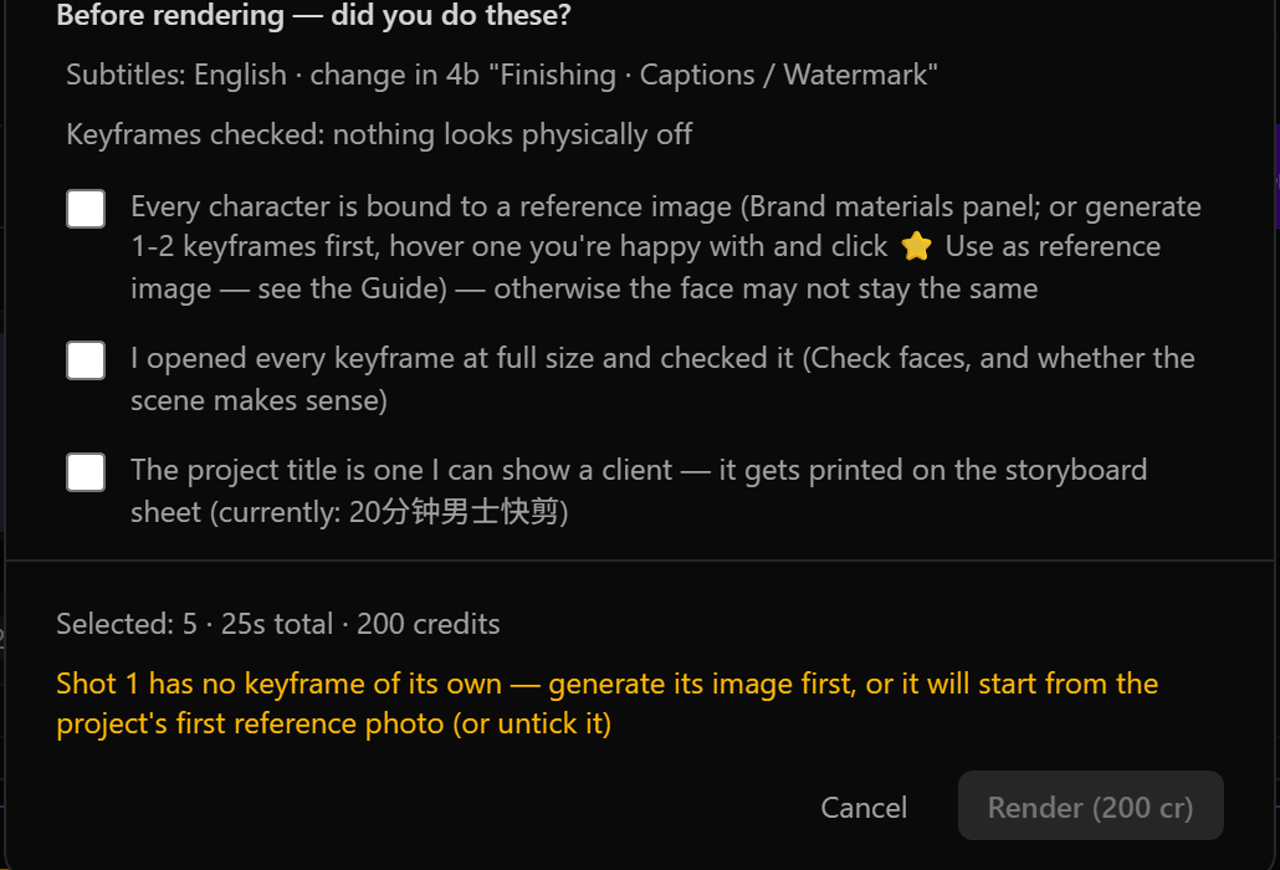
Once you’re happy, click the green Render video button at the top. The system turns your shots into video in the background over a few minutes (cost is based on length, ~8 credits/second).
A checklist appears first — “Before rendering — did you do these?” It confirms your subtitle languages, whether every character is bound to a reference image, whether you opened each keyframe full size, and whether the project title is one you would show a client (it gets printed on the sheet). None of it blocks you; it is the last cheap moment to catch something.
Cost scales with length. If the credit cost feels high, switch to Advancedmode and shorten each shot’s duration before rendering. For the whole picture — what a board, a keyframe and a second of video each cost, and roughly what one finished ad adds up to — see pricing.
Download
When it’s done, open the Renders list below and click Download to save the MP4 — or hit Play to preview first. Your videos stay in the project and can be re-downloaded any time at no extra cost.

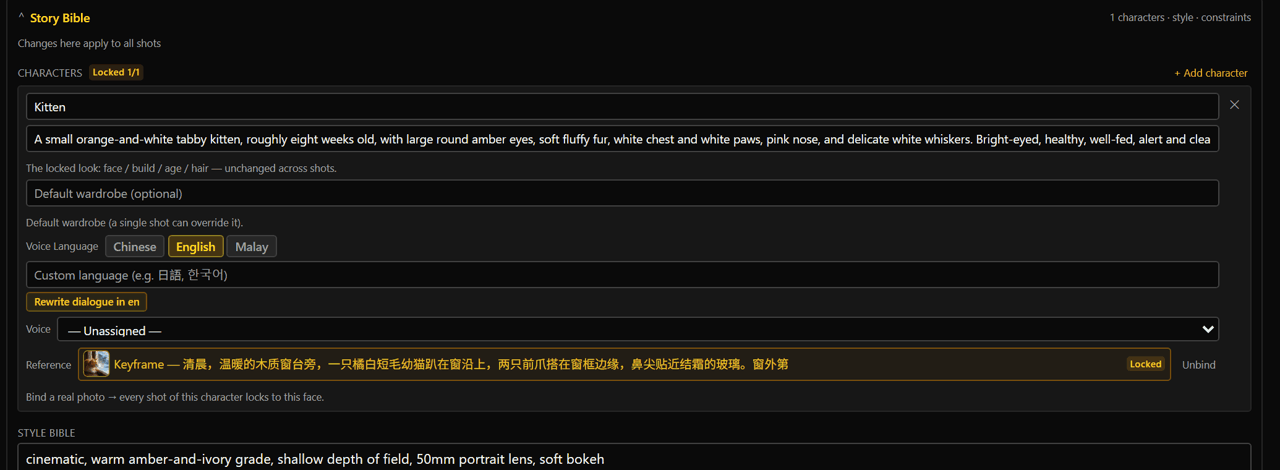
Uploading to ② Brand materials before you generate (see the warning above) already gets the AI drawing your real product and your real people. The rest of this box is about holding that face steady shot after shot, which takes a little more.
For even tighter consistency, switch to Advanced mode: lock a character in the Story Bible by binding a real photo to it, and type @ in any shot to pin a specific reference image.
Shortcut: once any keyframe comes out looking right, hover over it and click ⭐ Use as reference— it drops straight into the Asset Canvas, and you choose whether it’s a character, scene, product, or style. Every later shot then matches that exact look, with no downloading and re-uploading.
Questions? Contact admin@vimotion.io